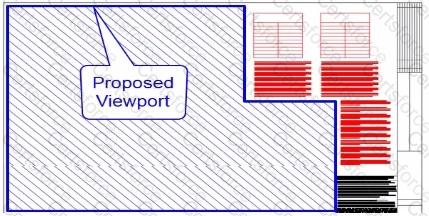
To create a viewport in AutoCAD that matches the blue-hatched area shown in the exhibit, you need to use the "Polygonal" option in the MVIEW command. The "Polygonal" option allows you to create viewports with non-rectangular shapes, which can be customized to fit any area, such as the irregular shape indicated.
Initiate the MVIEW command:
Type MVIEW or MV in the command line and press Enter.
Select the Polygonal option:
When prompted to specify the option, type P for Polygonal and press Enter.
Define the viewport shape:
Click to specify each vertex of the polygonal shape that matches the blue-hatched area in the exhibit. Continue clicking at each corner or bend in the shape until it is fully outlined.
Complete the viewport:
After specifying all vertices, press Enter to close the shape and complete the viewport creation.
This method ensures that your viewport matches the exact shape of the desired area, providing a tailored view of the drawing within that boundary.
Chosen Answer:
This is a voting comment (?). You can switch to a simple comment. It is better to Upvote an existing comment if you don't have anything to add.
Submit