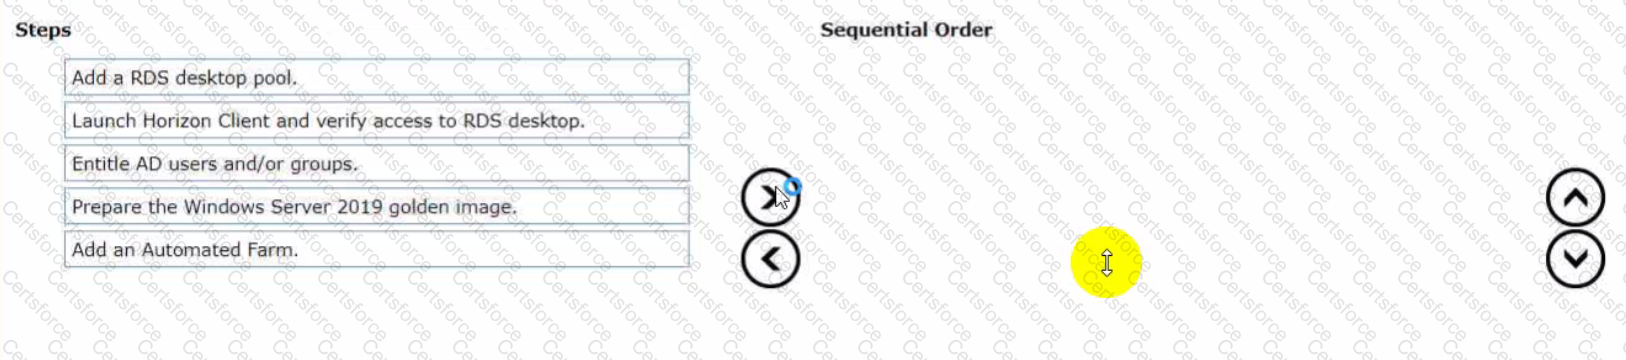
An organization with an existing Windows 2012 R2 Server RDSH farm decided to move to Windows Server 2019 as their new standard. Order the steps that need to be taken by the administrator to deploy a RDS desktop pool with this new standard.
To deploy a RDS desktop pool with the new standard of Windows Server 2019, the steps should be ordered as follows:
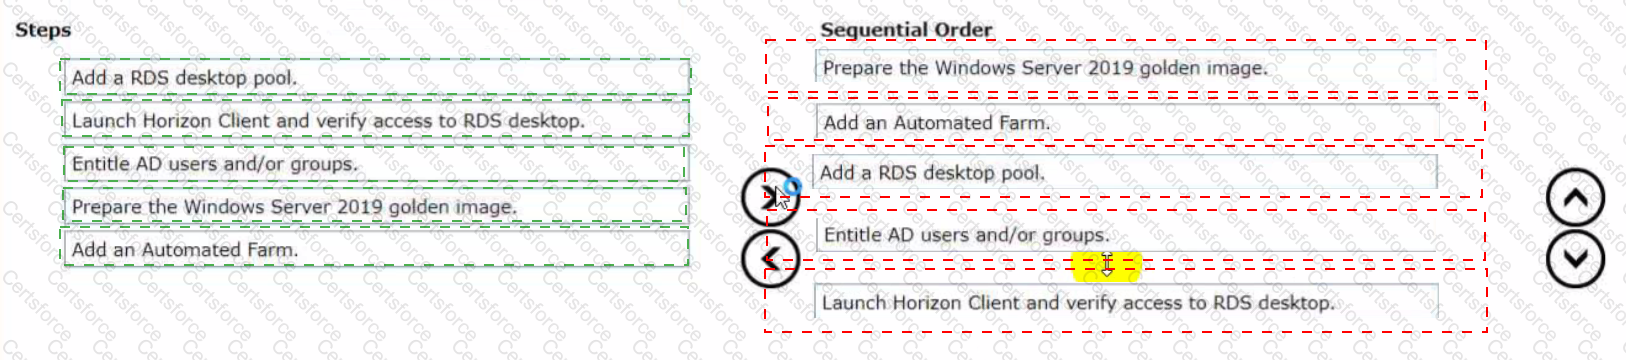
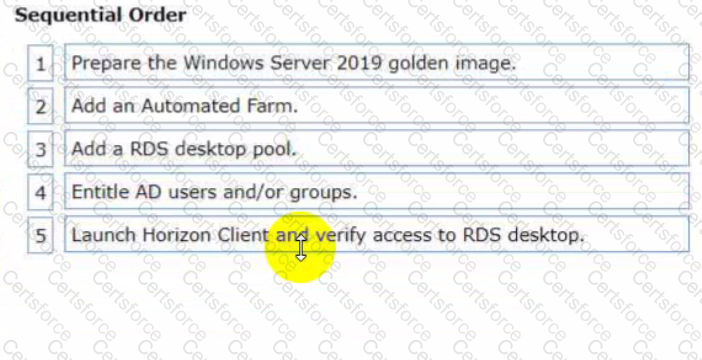
Prepare the Windows Server 2019 golden image. This is the first step because you'll need a prepared OS image to base your RDS desktop pool on.
Add an Automated Farm. Once your golden image is ready, you can set up an automated farm for the RDS desktop pool.
Add a RDS desktop pool. Using the automated farm and the prepared golden image, you can now add the RDS desktop pool.
Entitle AD users and/or groups. With the RDS desktop pool in place, the next step is to give Active Directory (AD) users and groups the necessary entitlements to access the desktops.
Launch Horizon Client and verify access to RDS desktop. As the final verification step, launch the Horizon Client to ensure that you can access the newly created RDS desktop pool and that everything is functioning as expected.
So, the sequential order is: Prepare the Windows Server 2019 golden image -> Add an Automated Farm -> Add a RDS desktop pool -> Entitle AD users and/or groups -> Launch Horizon Client and verify access to RDS desktop.
Contribute your Thoughts:
Chosen Answer:
This is a voting comment (?). You can switch to a simple comment. It is better to Upvote an existing comment if you don't have anything to add.
Submit