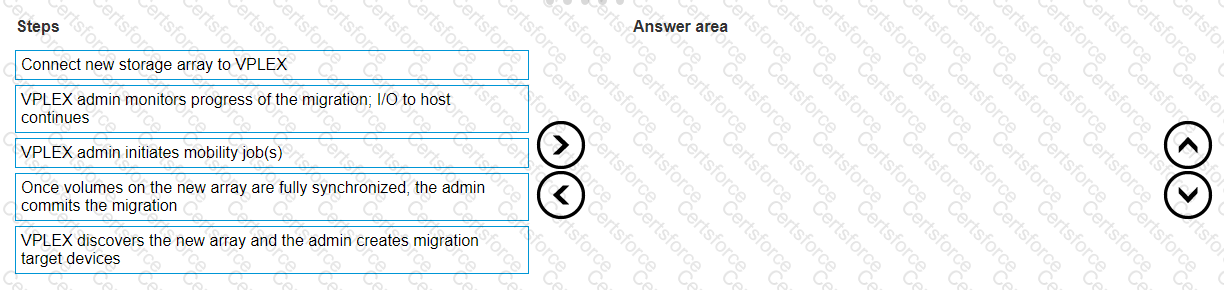
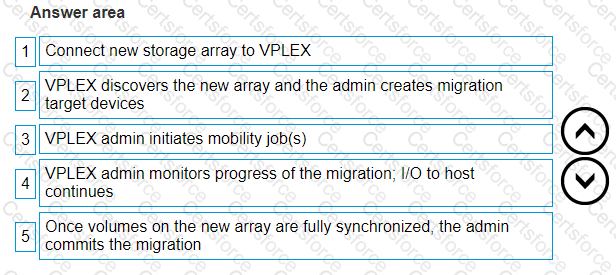
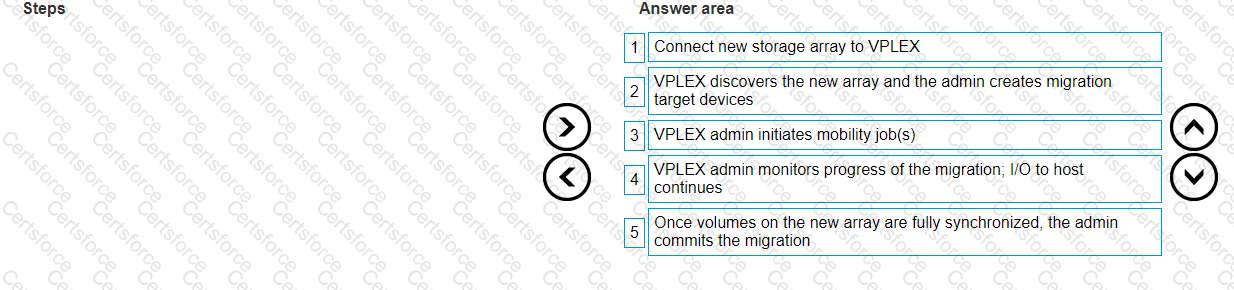
The correct order of steps to migrate from an old array to a new one without disruption using VPLEX is as follows:
Connect the new storage array to VPLEX.
VPLEX discovers the new array, and the admin creates migration target devices.
The VPLEX admin initiates mobility job(s).
VPLEX admin monitors the progress of the migration; I/O to the host continues.
Once volumes on the new array are fully synchronized, the admin commits the migration.
Connect New Storage Array: The first step involves physically connecting the new storage array to the VPLEX system and ensuring proper connectivity1.
Discovery and Device Creation: VPLEX then discovers the new array. The administrator uses the VPLEX management interface to create the target devices that will receive the data from the old array1.
Initiate Mobility Jobs: The administrator initiates mobility jobs using the VPLEX CLI or management interface. These jobs handle the data transfer from the old array’s devices to the new array’s devices1.
Monitor Migration Progress: While the mobility jobs are running, the administrator monitors the progress. During this time, the host continues to perform I/O operations without disruption1.
Commit Migration: After the data has been fully synchronized to the new array, the administrator commits the migration. This finalizes the transfer and allows the host to use the new array’s devices as if they were the original ones1.
This process ensures a smooth and non-disruptive migration from an old storage array to a new one using VPLEX, maintaining continuous availability of applications and data.
Contribute your Thoughts:
Chosen Answer:
This is a voting comment (?). You can switch to a simple comment. It is better to Upvote an existing comment if you don't have anything to add.

Submit